This page contains affiliate links. If you purchase through them we may earn a small commission at no extra cost to you. Learn more
5 Essential Knots Every Camper Should Know in the UK
5 Essential Knots Every Camper Should Know
You don't need to know fifty knots. You need to know five — and know them so well you can tie them in the dark, with cold hands, while it's raining sideways. These five cover roughly 90% of situations you'll face outdoors.
Before We Start: Key Terms
- Standing end — the long, main part of the rope
- Working end — the short end you're tying with
- Bight — a U-shaped bend in the rope (not crossed)
- Loop — a crossed section of rope
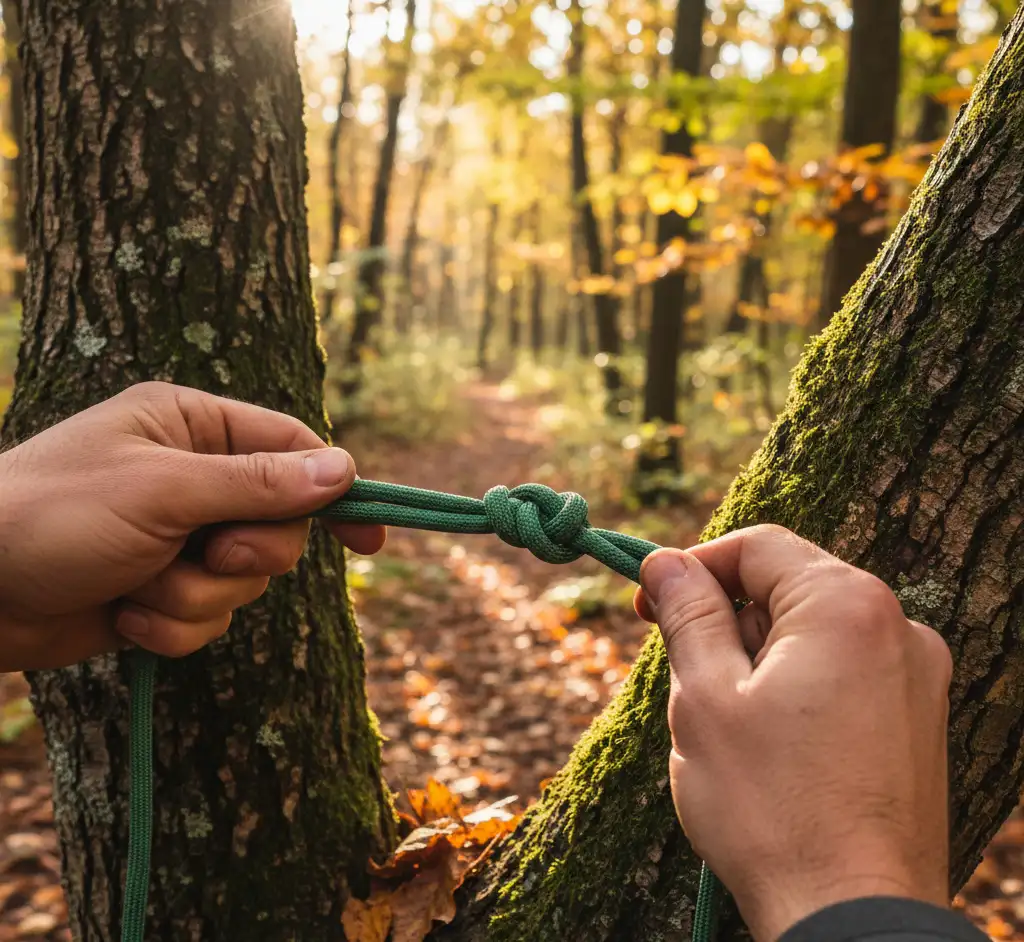
1. The Bowline
What it does: Creates a fixed loop that won't slip or tighten under load.
When to use it:
- Tying a line to a tree for a tarp ridgeline
- Creating a loop to hang things from
- Any time you need a loop that won't cinch tight (making it easy to untie later)
- Rescue situations — putting a loop around someone
How to tie it:
- Make a small loop in the standing end (the "rabbit hole")
- Pass the working end up through the loop (rabbit comes out of the hole)
- Take it around the back of the standing end (round the tree)
- Pass it back down through the small loop (back down the hole)
- Pull tight
Memory aid: "The rabbit comes out of the hole, goes round the tree, and goes back down the hole."
Why it's essential: The bowline is the single most useful knot in the outdoors. It holds firmly under load but unties easily afterwards. Learn this one first.
2. The Clove Hitch
What it does: Attaches rope to a pole, stake, or tree quickly.
When to use it:
- Starting a lashing when building a shelter
- Tying a ridgeline to a tree
- Securing a line to a tent peg or stake
- Any quick attachment to a cylindrical object
How to tie it:
- Wrap the rope around the pole
- Cross over the standing end and wrap around again
- Tuck the working end under the second wrap
- Pull tight
Important note: The clove hitch can slip under intermittent loading (repeated pulling and releasing). For permanent or critical attachments, add a half hitch or two after the clove hitch for security.
Why it's essential: It's the fastest way to attach a rope to something. Takes seconds to tie and seconds to untie. Perfect for camp setups that you'll take down the same day.
3. The Taut-Line Hitch
What it does: Creates an adjustable loop that slides to increase or decrease tension but grips under load.
When to use it:
- Guy lines on tents and tarps
- Any line that needs adjustable tension
- Clotheslines at camp
- Securing loads that might shift
How to tie it:
- Pass the working end around a stake or anchor point
- Bring it back and wrap it twice around the standing end (inside the loop you've created)
- Make one more wrap outside the loop, further from the anchor
- Pull tight
To adjust tension, simply slide the knot along the standing end. Under load, it grips and holds.
Why it's essential: This replaces those fiddly plastic tensioners that come with cheap tents and inevitably break. Once you learn the taut-line hitch, you'll use it constantly.
If the taut-line hitch slips on slippery cord (like dyneema), try the midshipman's hitch instead — it's similar but grips better on modern synthetic ropes.
4. The Trucker's Hitch
What it does: Creates a mechanical advantage for pulling a line incredibly tight — essentially a simple pulley system in rope.
When to use it:
- Tightening a tarp ridgeline drum-tight
- Securing loads to a pack or vehicle
- Any time you need maximum tension
- Tying down kit in high winds
How to tie it:
- Tie one end to your anchor (use a bowline)
- Part way along the rope, form a loop (a slip knot works — pull a bight through a loop)
- Pass the working end around your second anchor point
- Thread it back through the loop you created
- Pull down — the loop acts as a pulley, doubling your pulling force
- Secure with two half hitches
Why it's essential: Nothing gets a line tighter. When you need a ridgeline that doesn't sag or a load that doesn't shift, the trucker's hitch is the answer. It looks complicated written down but becomes intuitive with practice.
5. The Figure-Eight Knot
What it does: Creates a stopper knot that prevents rope from sliding through a hole, grommet, or pulley.
When to use it:
- Stopping a line from pulling through a tarp grommet
- End of a rope to prevent unravelling
- Base for a figure-eight loop (used extensively in climbing)
- Any time you need a bulky, reliable stopper
How to tie it:
- Make a loop
- Pass the working end behind the standing end
- Bring it back through the loop
- Pull tight — you'll see the distinctive figure-8 shape
Why it's essential: It's a simple knot, but a critical one. It jams less than an overhand knot (making it easier to untie) and is more reliable as a stopper. In climbing, the figure-eight loop variant is literally life-saving.
Bonus: Two Half Hitches
Not officially on the list of five, but two half hitches is so useful and so quick that you'll end up using it everywhere. It secures a line to a ring, pole, or another rope and is often used to finish off other knots (like the trucker's hitch).
Wrap the working end around your anchor, then tie two half hitches around the standing end. Done.
How to Practice
Knot-tying is 100% muscle memory. Reading about knots is useless if your hands haven't done the work.
The practice routine:
- Get a 2-metre length of rope or paracord (6mm is ideal for learning)
- Learn one knot at a time — tie it 20 times until it's automatic
- Then tie it behind your back
- Then tie it with one hand
- Then tie it with gloves on
- Then tie it in the dark
- Move on to the next knot
Sounds excessive? In a real situation — cold, tired, dark, raining — you'll be grateful for every repetition.
Keep a short length of cord in your pocket or on your desk. Tie knots while watching TV, waiting for the bus, or on your lunch break. A week of idle fidgeting and you'll have all five nailed.
Caring for Your Rope
- Avoid stepping on rope — grit works its way into the fibres and weakens them
- Don't leave rope in direct sunlight for extended periods — UV degrades nylon and polyester
- Dry rope before storing it — mildew weakens natural fibre rope
- Check for fraying and damage before each use
- Paracord (550 cord) is cheap, strong, and versatile — carry at least 15 metres
When Knots Aren't Enough
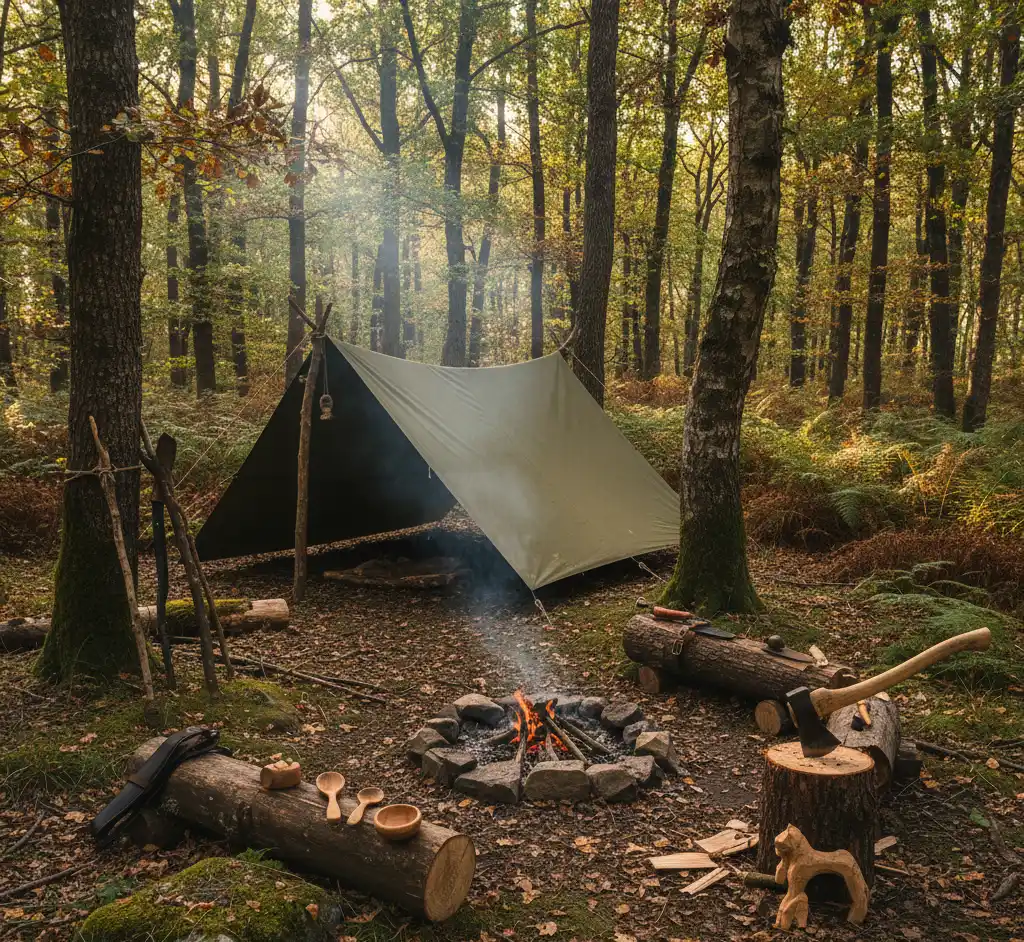
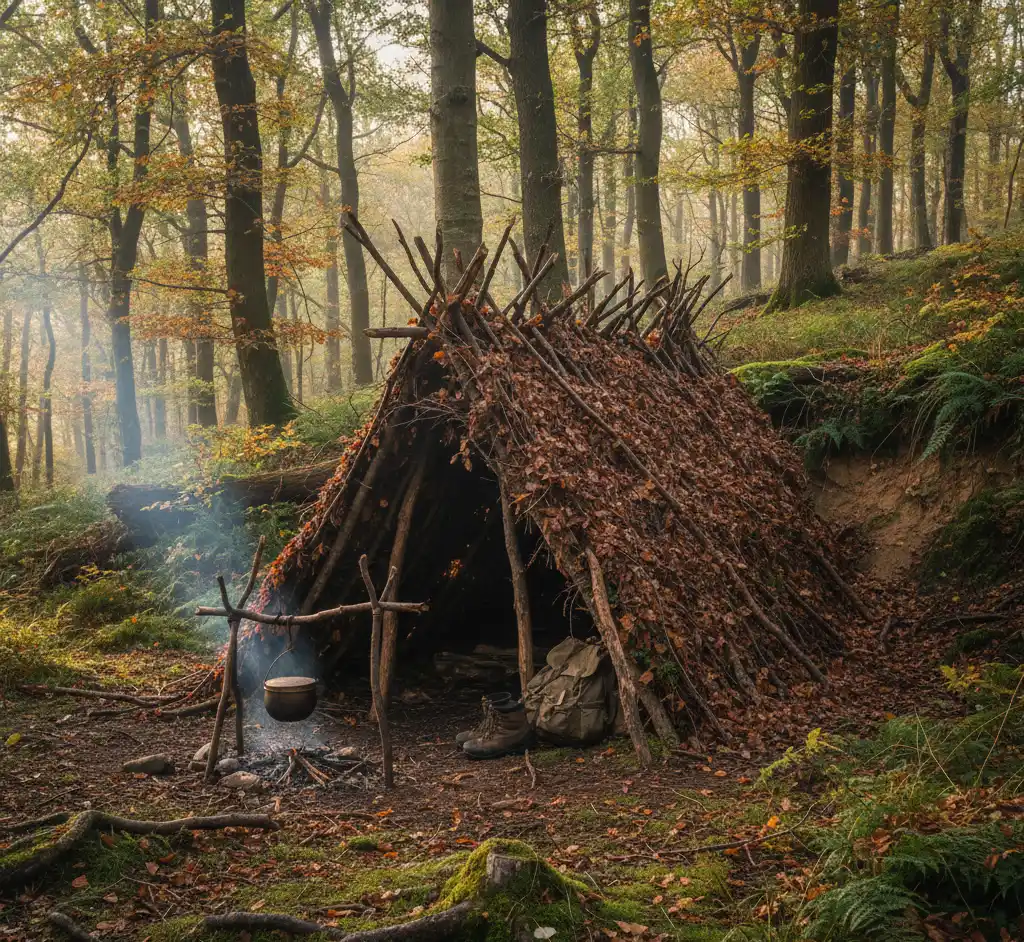
For semi-permanent structures or shelter building, you'll want to learn basic lashings (square lashing and diagonal lashing). These bind poles together at right angles or diagonally and are the foundation of bushcraft construction. They use the clove hitch as their starting point — another reason to master it.
Recommended Rope and Cord
The right rope makes knot-tying easier and more reliable. Here's what to carry.
Atwood 550 Paracord (30m)
Amazon UK30m
250kg
4mm
7
Pros
- +Genuine mil-spec construction
- +7 inner strands can be separated for fishing line or repairs
- +Versatile diameter for most knots
Cons
- −Can be slippery — taut-line hitch may need extra wraps
The single most versatile piece of cordage you can carry. Every pack should have 15–30 metres.
View dealAffiliate link — we may earn a small commission at no extra cost to you
Nite Ize Figure 9 Rope Tightener (4 pack)
Amazon UKAluminium
8g each
2–5mm
Pros
- +Instant tensioning without knots
- +Ultra-lightweight aluminium
- +Great for tarp guy lines
Cons
- −Not a substitute for learning proper knots
Handy tensioners for quick tarp setups. Use them alongside your knot skills, not instead of them.
View dealAffiliate link — we may earn a small commission at no extra cost to you
Five knots. That's all it takes. Learn them properly and you'll never be caught fumbling with a tangled mess of rope when you should be setting up camp.
Ready to gear up?
Use our kit builder to get a complete packout list tailored to your trip type, terrain, and budget — with prices and buy links.
Related reading
Bushcraft & Survival Skills: The Complete UK Guide
A practical guide to bushcraft and survival skills for UK conditions — from fire-starting and shelter-building to navigation and wild food.
Shelter Building Basics — A Practical Guide for UK Woodland
How to build emergency and practice shelters in UK woodland — lean-tos, A-frames, and debris shelters using natural materials.

Night Hiking: A Practical Safety Guide for UK Walkers
How to hike safely at night in the UK — head torch selection, route planning, navigation in the dark, and essential safety advice.

Best Legal Survival Knives for UK Bushcraft and Camping 2026
Best legal survival and bushcraft knives in the UK. UK knife law explained and the best fixed-blade and folding knives compared.