This page contains affiliate links. If you purchase through them we may earn a small commission at no extra cost to you. Learn more
Shelter Building Basics — A Practical Guide for UK Woodland
Shelter Building Basics for UK Woodland
Shelter is your number one survival priority. In UK conditions — where wind, rain, and cold are the main threats — hypothermia can set in surprisingly fast. A well-built shelter protects you from the elements, conserves body heat, and gives you a base to work from.
When to Build vs When to Use Your Tent
Let's be realistic. If you've got a tent in your pack, use it. A modern tent will outperform any improvised shelter for comfort and weather protection.
Shelter-building skills matter when:
- Your tent is damaged or lost
- You're caught out unexpectedly (day walk gone wrong, injury, got benighted)
- You're practising bushcraft skills deliberately
- You're on a course and learning the craft
The point isn't to replace your tent — it's to have a backup plan that doesn't rely on kit.
Choosing Your Shelter Site
Where you build matters as much as what you build.
Look for:
- Natural wind protection (behind a hill, in a dip, among trees)
- Dry ground — avoid hollows where water collects
- Standing deadwood and fallen branches nearby for materials
- A tree or rock feature you can build against
Avoid:
- Hilltops and ridgelines (exposed to wind)
- Valley bottoms (cold air sinks and frost pools form)
- Under lone trees in a storm (lightning risk)
- Too close to water (flooding risk, midges in summer)
- Directly under dead branches that could fall (widow-makers)
Always look up before building. Dead branches lodged in the canopy — known as widow-makers — can fall without warning. Never camp or shelter directly beneath them.
The Lean-To
The simplest and most versatile woodland shelter. You can build one in 30–45 minutes with no tools.
How to Build It
- Find or create a ridge pole — a sturdy branch about 2.5–3 metres long. Wedge it between two trees at roughly waist height, or rest it in the fork of a tree
- Lean branches against it — place them at a 45–60° angle along one side, roughly a hand's width apart
- Weave smaller branches horizontally through the leaning branches to create a lattice
- Pile on debris — dead leaves, bracken, grass, pine needles. The more the better. You want at least 30 cm thickness for decent waterproofing
- Start from the bottom and work upward, like roof tiles, so water runs off rather than in
Tips for a Better Lean-To
- Face the open side away from the prevailing wind (usually away from the south-west in the UK)
- Keep it low — you're not building a house. Just big enough to crawl into and lie down
- A reflector fire in front of the opening throws heat back into the shelter
- Pile debris on the ground inside too — insulation below you is as important as above
The A-Frame
A step up from the lean-to, the A-frame gives you protection on both sides and is better in changeable wind conditions.
How to Build It
- Set your ridge pole — prop one end on a stump, rock, or forked stick about 60–90 cm high. The other end rests on the ground
- Lean branches on both sides at a steep angle (60°+), creating an A-shape when viewed from the end
- Layer debris thickly on both sides — again, at least 30 cm thick
- Block the high end with a wall of branches and debris
- Crawl in from the low end — your body heat warms the small space efficiently
When to Choose an A-Frame
- Wind is swirling or you're not sure of its direction
- You're alone and want maximum insulation for minimum body heat loss
- It's a genuine emergency and you need the most protective shelter you can build quickly
The downside: no room for a fire at the entrance. It's a sleeping shelter, not a living space.
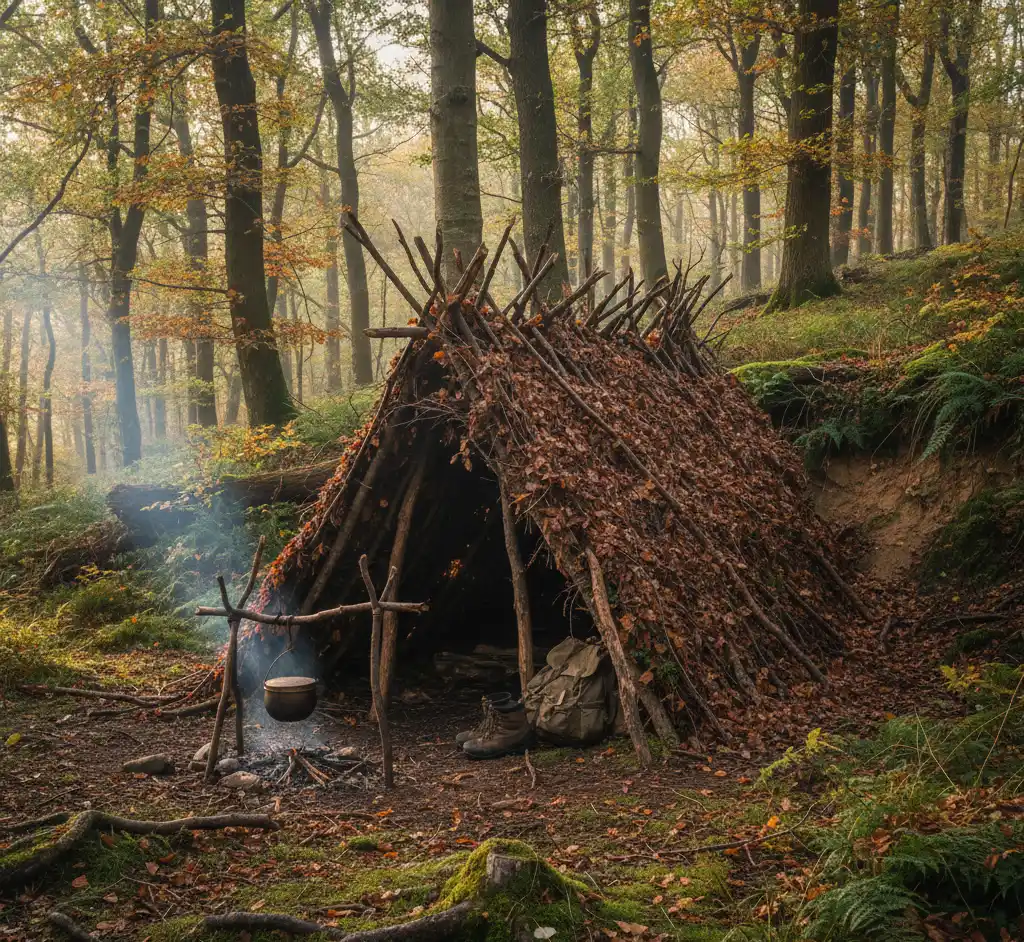
The Debris Shelter
The warmest improvised shelter you can build — essentially a sleeping bag made of woodland materials.
How to Build It
- Build an A-frame skeleton just wide enough for your body
- Pack debris incredibly thick on all sides — 60 cm or more
- Fill the inside with a deep bed of dry leaves, bracken, or grass
- Create a door plug from a bundle of debris you can pull into the entrance behind you
This shelter works on the same principle as a sleeping bag — trapping dead air around your body. It's remarkably warm but time-consuming to build properly (allow 2–3 hours for a good one).
The debris shelter is the warmest option for a solo survivor without a sleeping bag. Your body heat warms the small air space, and the thick debris insulation keeps it in. It's not comfortable, but it can keep you alive in near-freezing temperatures.
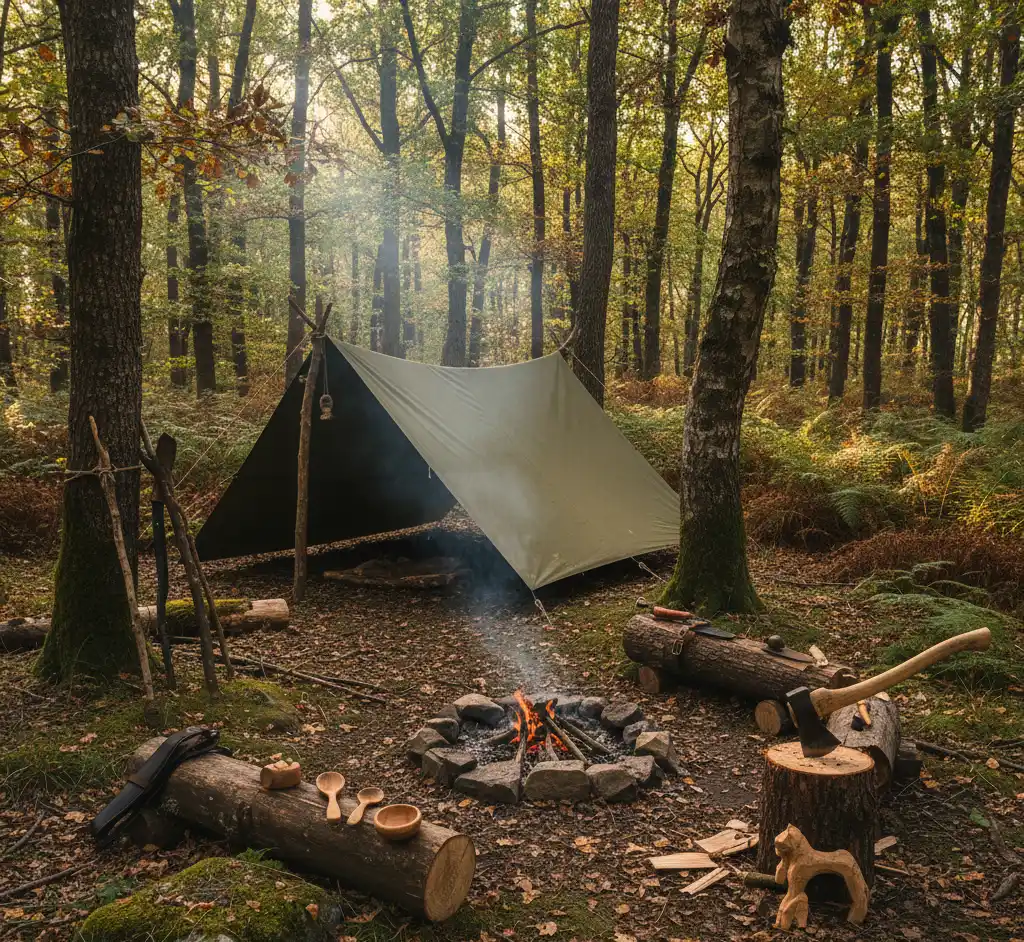
Quick Shelters Using a Tarp
If you carry a lightweight tarp (and you should — they're incredibly versatile), your shelter options multiply:
Tarp Lean-To
String a ridgeline between two trees and drape the tarp over it at an angle. Peg or weigh down the low edge. Quick, effective, and gives you a dry space to work in.
Tarp A-Frame
Same ridgeline, but drape the tarp evenly on both sides. Better rain protection but less living space.
Tarp Cocoon
In an emergency, wrap the tarp around yourself with debris underneath and on top. Not elegant but effective.
A 3m x 2m tarp weighs about 300–500g and costs under £20. It's one of the best bits of kit you can carry.
Materials You'll Find in UK Woodland
Structural:
- Hazel — straight, strong, flexible. Perfect for frameworks
- Ash — strong and splits cleanly
- Sycamore and beech — good for ridge poles
- Any standing deadwood — lighter than green wood and already seasoned
Covering:
- Dead leaves (oak leaves last longest as they decompose slowly)
- Bracken — excellent insulator, available in huge quantities
- Pine branches — natural shingles, shed water well
- Grass — good filler but compresses quickly
- Moss — reasonable insulator if available in quantity (but be mindful of conservation)
Bedding:
- Dry leaves piled deep (a bin bag's worth at minimum)
- Bracken fronds
- Pine needles
- Dry grass
Ground Insulation — Don't Skip This
The ground will steal your heat far faster than the air. Even in a perfect shelter, lying on bare earth will leave you cold and miserable.
Build a bed of:
- Thick layer of branches to create a raised platform
- Pile dry leaves, bracken, or grass on top — at least 15 cm deep
- Press it down with your body weight, then add more
The rule of thumb: if you think you've got enough ground insulation, double it. You always compress it more than you expect.
Practice Without Pressure
Don't wait for an emergency to build your first shelter. Find a local woodland where you have permission (or join a bushcraft course) and practice:
- Start with a simple lean-to in good weather
- Time yourself — can you build a functional shelter in 45 minutes?
- Try sleeping in it (or at least lying in it for an hour) to test how weatherproof it really is
- Build in different seasons — materials vary through the year
- Always dismantle your practice shelters and scatter the materials
Always get landowner permission before building shelters. In Scotland, the right to roam allows lightweight camping but shelter building in woodland may still require permission. In England and Wales, you need explicit permission on private land.
Common Mistakes
- Building too big — your body heat can't warm a mansion. Keep it small
- Not enough debris — you can see daylight through the walls? Not enough
- Ignoring ground insulation — the ground is your biggest heat thief
- Building in the wrong spot — a perfect shelter in a flood-prone hollow is useless
- Spending hours on a shelter when you could be signalling for help — in a real emergency, think about priorities
Recommended Shelter Kit
Even if you're practising natural shelter building, carrying a lightweight tarp and some paracord gives you a reliable backup and multiplies your options enormously.
DD Hammocks DD Tarp 3x3
Amazon UK3m x 3m
790g
190T polyester, PU coated
Pros
- +19 attachment points for versatile setups
- +Lightweight for its size
- +Proven UK brand
Cons
- −Not the lightest option for ultralighters
The UK bushcraft community's favourite tarp. Versatile, tough, and great value for money.
View dealAffiliate link — we may earn a small commission at no extra cost to you
Atwood 550 Paracord (30m)
Amazon UK30m
250kg
7
Pros
- +Genuine mil-spec 7-strand
- +Versatile — ridgelines, guy lines, lashings
- +Strong enough for shelter frames
Cons
- −Can stretch slightly when wet
Essential cordage for tarp setups, lashings, and guy lines. Thirty metres covers a full camp.
View dealAffiliate link — we may earn a small commission at no extra cost to you
Highlander Basha Shelter Sheet
Amazon UK2.4m x 2.4m
700g
Ripstop nylon
Pros
- +Military-style tarp with reinforced eyelets
- +Compact when packed
- +Budget-friendly
Cons
- −Smaller than the DD 3x3
- −Fewer attachment points
A solid budget basha for emergency shelter or practice builds. Compact and light enough for every pack.
View dealAffiliate link — we may earn a small commission at no extra cost to you
Shelter building is one of the most satisfying bushcraft skills. There's something primal about creating a warm, dry space from nothing but woodland materials. Get out there and practise — your future self might thank you for it.
Ready to gear up?
Use our kit builder to get a complete packout list tailored to your trip type, terrain, and budget — with prices and buy links.
Related reading
Bushcraft & Survival Skills: The Complete UK Guide
A practical guide to bushcraft and survival skills for UK conditions — from fire-starting and shelter-building to navigation and wild food.
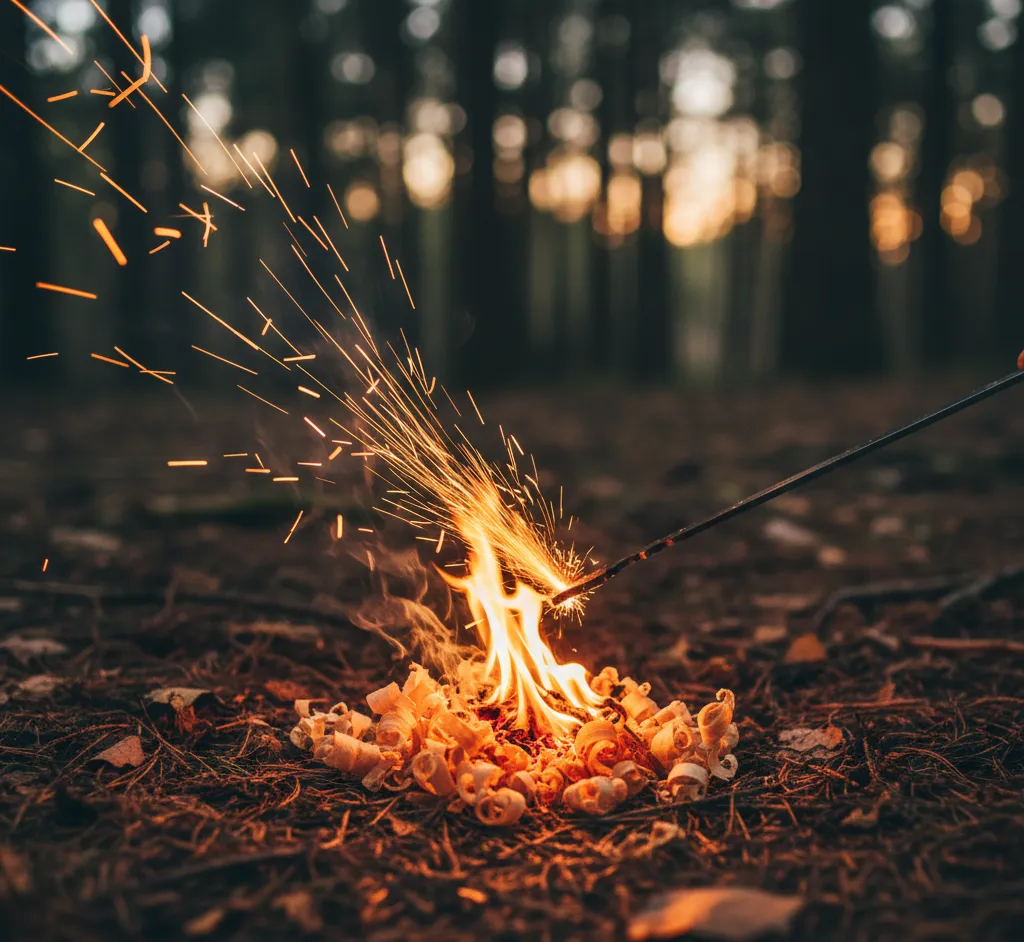
Fire-Starting Techniques That Actually Work in UK Weather
Proven fire-starting methods for wet UK conditions — ferro rods, fire steel, natural tinders, and techniques that work when everything's damp.
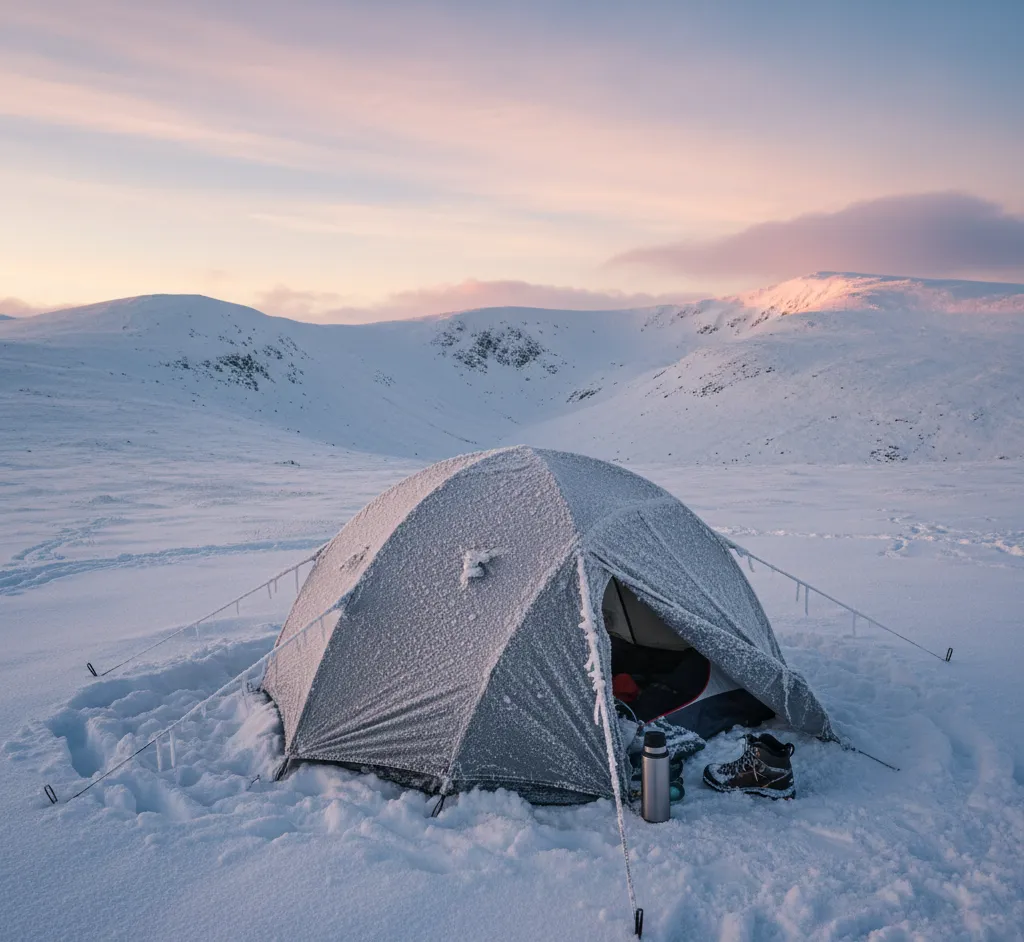
Winter Camping Skills: Staying Warm & Safe in the UK
Essential winter camping skills for UK conditions — layering systems, condensation management, cold-weather cooking, and hypothermia awareness.
5 Essential Knots Every Camper Should Know in the UK
Learn the five knots that cover 90% of camping and bushcraft situations — bowline, clove hitch, taut-line, trucker's hitch, and figure-eight.